Installation and Launch
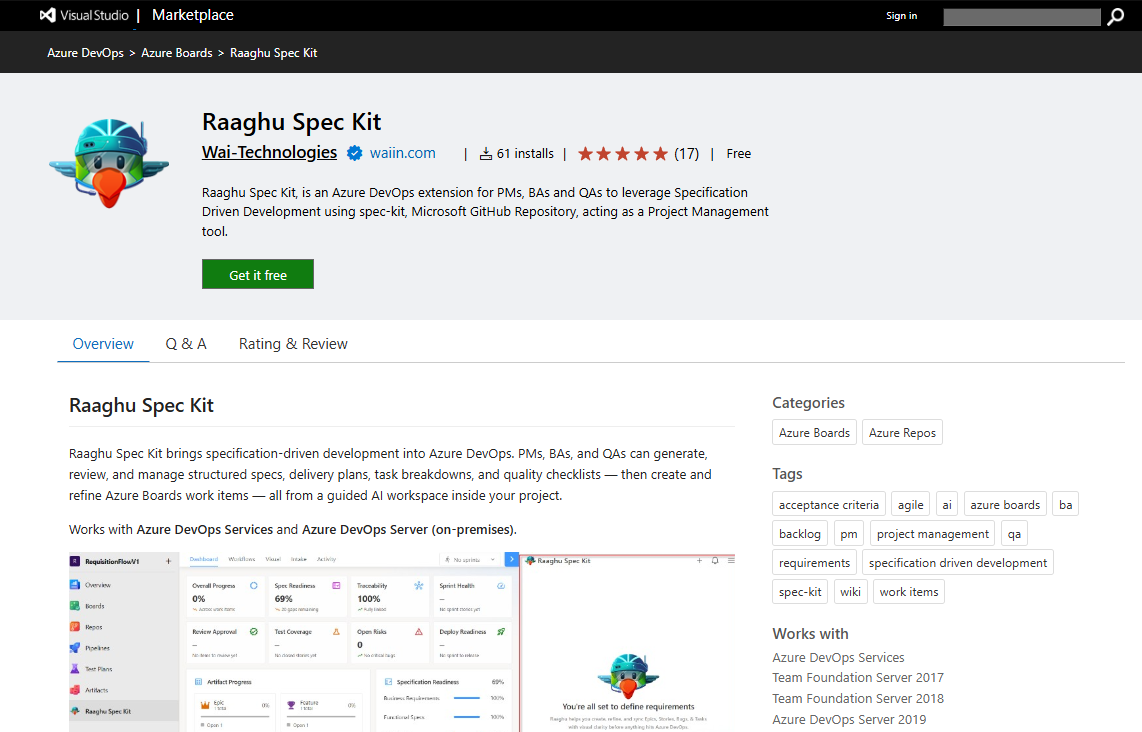
Install Raaghu Spec Kit from the Visual Studio Marketplace and open it in your Azure DevOps project.
Who can install: You need permission to install marketplace extensions for the organization (usually an organization administrator).
Cloud vs Server: Cloud Azure DevOps users follow Steps 1–4. Azure DevOps Server users also complete the on-premises notes under Step 3.
Step 1: Install from the Marketplace
- Go to the Visual Studio Marketplace and open the Azure DevOps tab.
- Search for Raaghu Spec Kit and open the extension listing.
- Click Get. New installs include an 7-day free trial. After the trial, an organization admin must subscribe and assign seats (see Organization Settings).
- Select your organization, then click Install.
Extensions install at the organization level. Confirm under Organization settings → Extensions → Installed.
Step 2: Open Raaghu Spec Kit
- Open a project in the organization where the extension is installed.
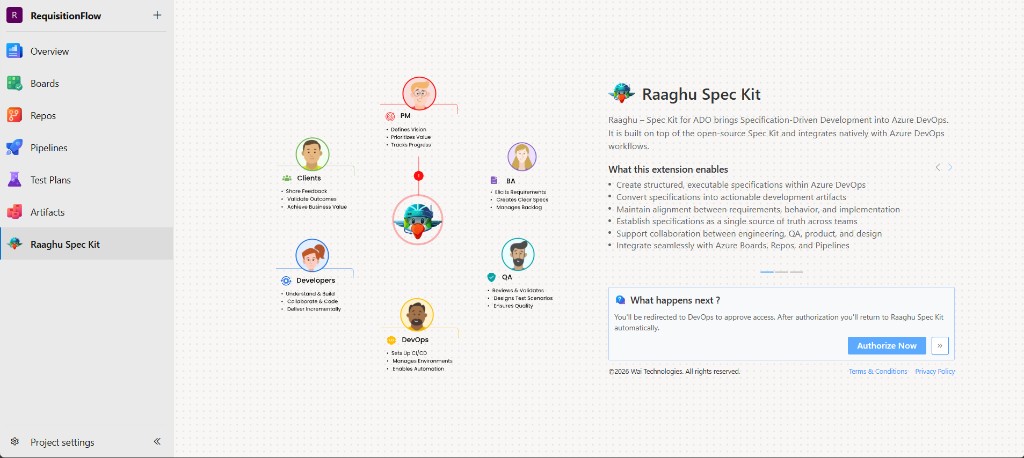
- In the project's left sidebar, click Raaghu Spec Kit.
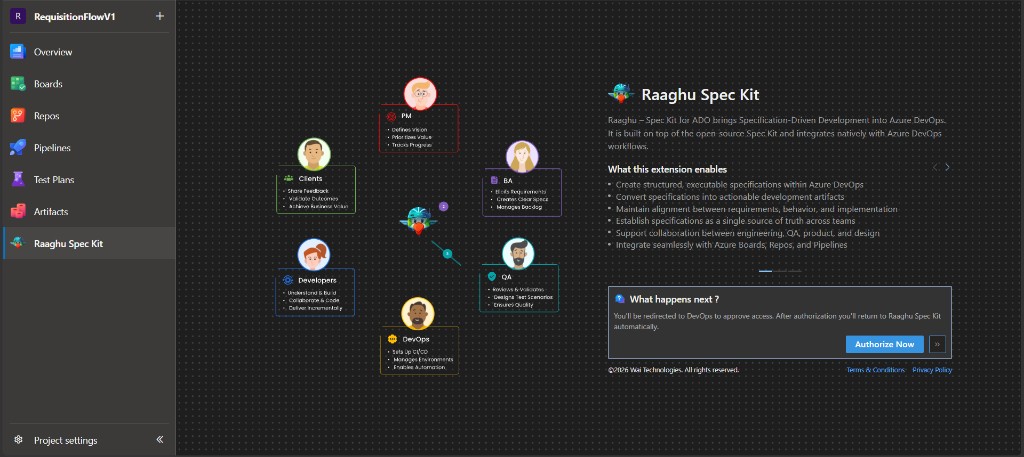
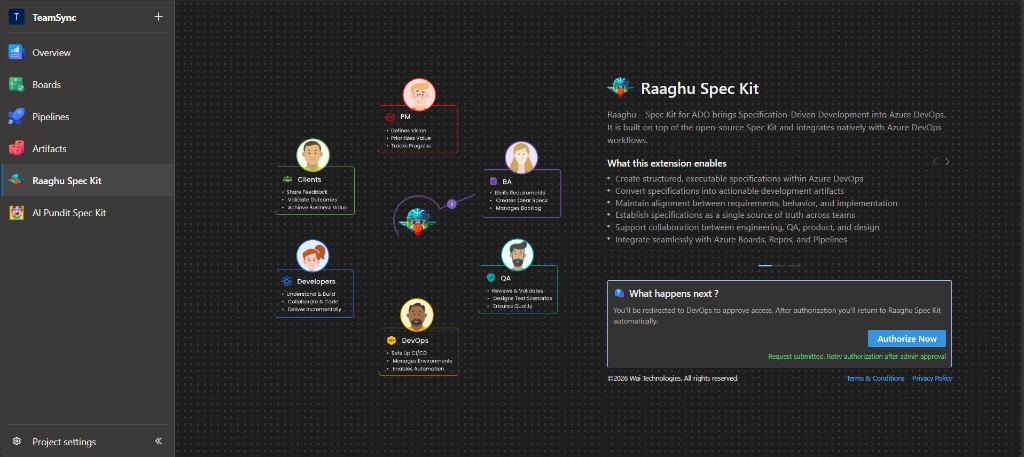
- The landing page opens with a short overview and the Authorize Now button.
Step 3: Authorize with Microsoft
- Click Authorize Now.
- Complete Microsoft sign-in and approve access.
- When authorization finishes, you are returned to the extension automatically.
When an admin must approve first
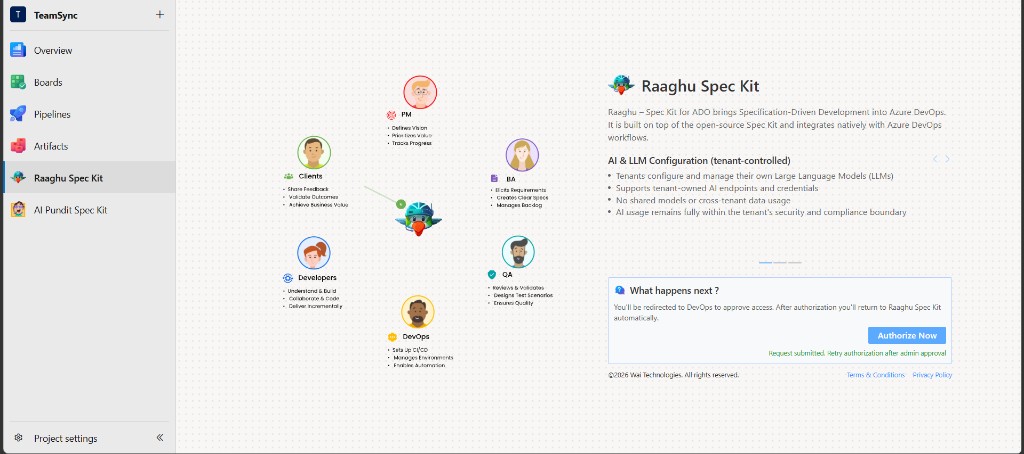
If your organization requires administrator approval, you see:
"Request submitted. Retry authorization after admin approval"
After an admin approves you (Access Requests), click Authorize Now again.
Azure DevOps Server only
These steps do not apply to cloud Azure DevOps:
- "Setup Required" — complete Server Deployment Setup (gear icon on the landing page), then authorize. Admins can also open hamburger → Settings → Deployment.
- After authorize, you may need to verify a work email with a 6-digit OTP.
Step 4: Get a seat
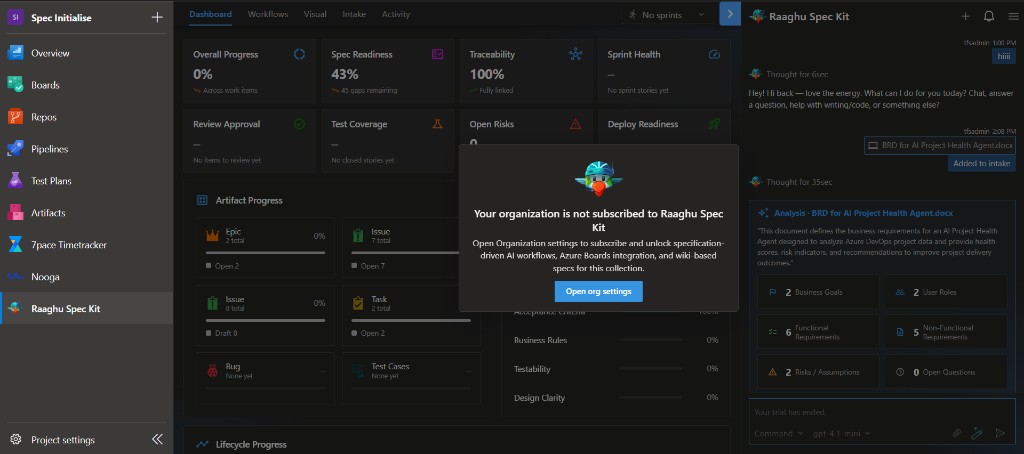
If the organization is not subscribed, you may see a message like "Your organization is not subscribed to Raaghu Spec Kit" with an Open org settings button:
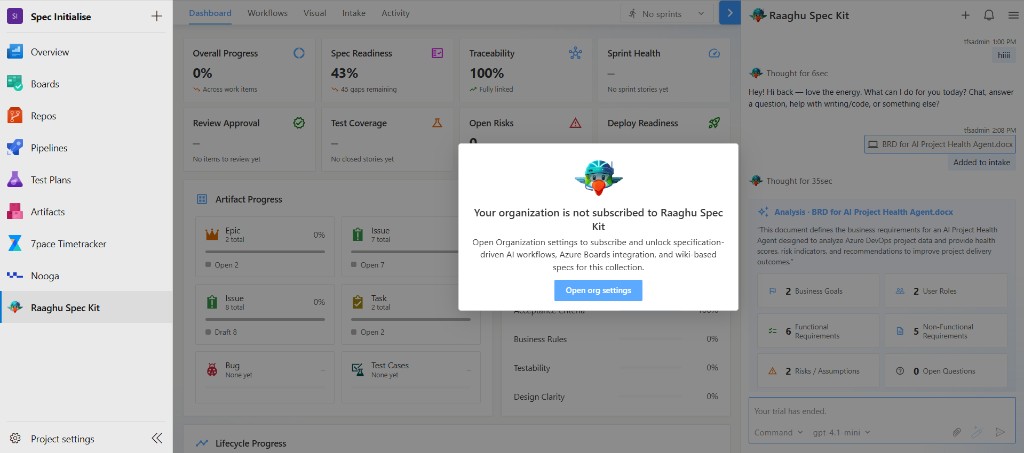
- Admins: click Open org settings (or go to Azure DevOps → Organization settings → Raaghu Spec Kit), subscribe, then assign seats.
- Members: ask an organization admin to subscribe and assign you a seat.
Approving an access request is not enough — the user still needs a seat before they can use the hub.