Access Requests
When a new user opens Raaghu Spec Kit for the first time, they may need an administrator to approve their access before they can use the extension.
Important: Approving access is not the same as assigning a seat. After approval, an admin must still assign a seat in Azure DevOps → Organization settings → Raaghu Spec Kit → Users → Available to assign.
For users: requesting access
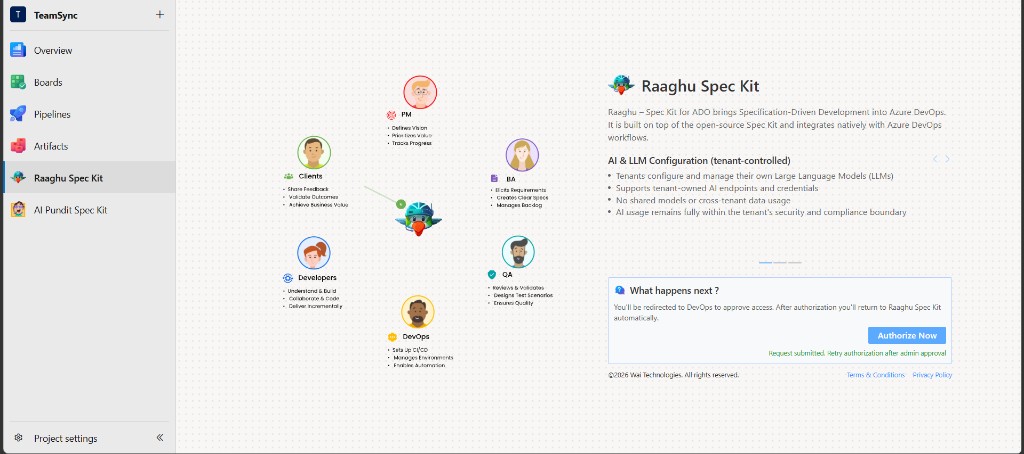
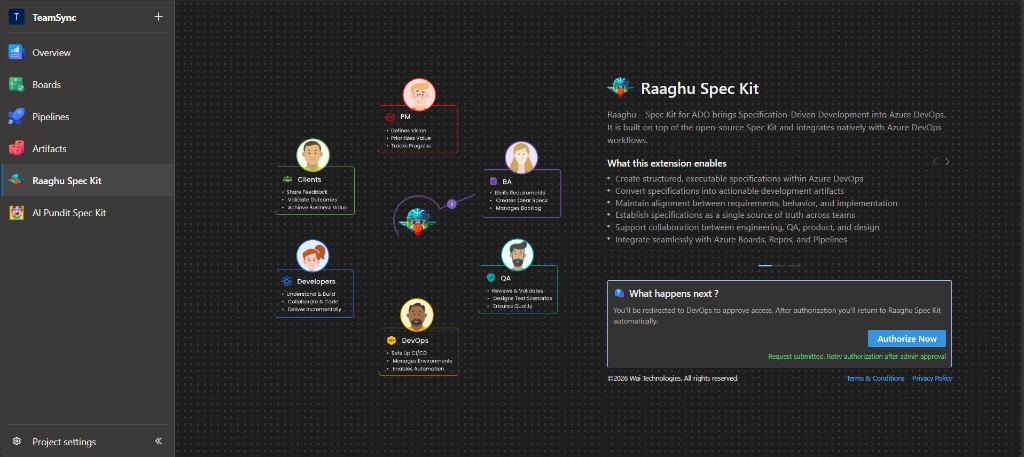
- Open Raaghu Spec Kit and click Authorize Now (see Installation and Launch).
- Complete Microsoft sign-in.
- If your organization requires approval, you see:
"Request submitted. Retry authorization after admin approval"
- After an admin approves you, click Authorize Now again.
For administrators: approving or rejecting requests
Access requests are managed in Organization Settings, not in the Spec Kit header.
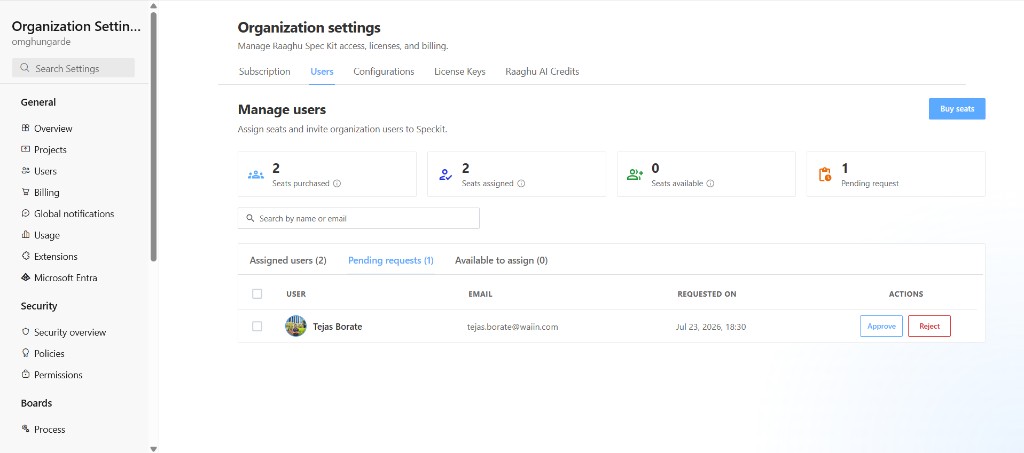
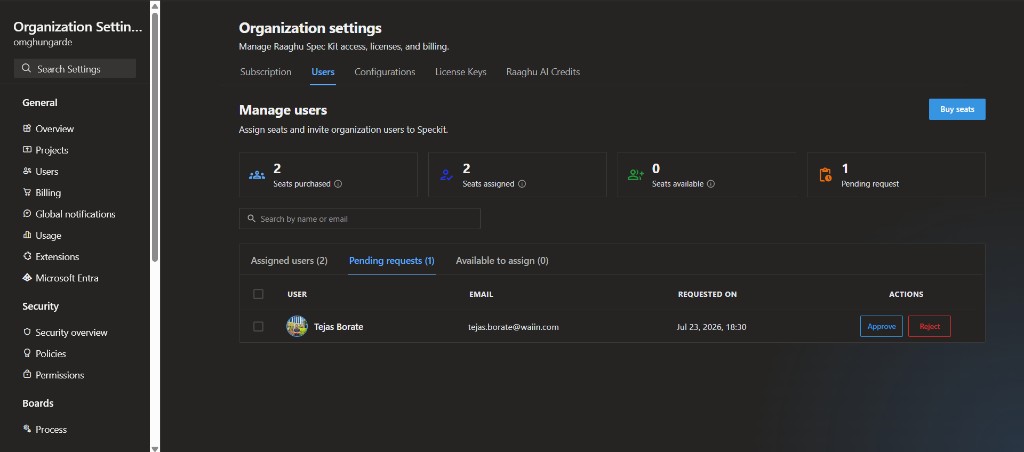
- In Azure DevOps, open Organization settings → Raaghu Spec Kit → Users.
- Open the Pending requests sub-tab. A badge on the sub-tab (and the Pending requests stat tile) shows how many requests are waiting.
- Review each row (User, Email, Requested on). You can Search by name or email.
- Choose an action:
| Action | Result |
|---|---|
| Approve | Grants Spec Kit access to that user |
| Reject | Rejects the request |
| Approve selected | Approves every selected pending request (select two or more rows first) |
When there are no pending requests, the table shows "No pending access requests.".
Required next step after Approve: on the same Users page, open Available to assign and click Assign seat. Approval alone does not let the user into the hub.